Well, I managed to get a few more bits and pieces done on the weekend, but first things first. On the Friday evening after work I shot home to un-wrap and test fit my parcel from Chris, the result was as such;
Annoying to attempt to fit whilst the F54 was on it’s cradle as they rest below the floor height so I just kind of propped them into place, as you can see. There seems to be plenty of clearance for the engine mount but whether it fouls on any of the steering components I’ll not discover until I test fit it. Which is a while off as more important things like bodywork are to come first and I’ve still got to finish tidying up the engine bay… Something I wouldn’t normally bother with but seeing as everything else is getting done it would be ridiculous not to.
Anyway! Speaking of bodywork…
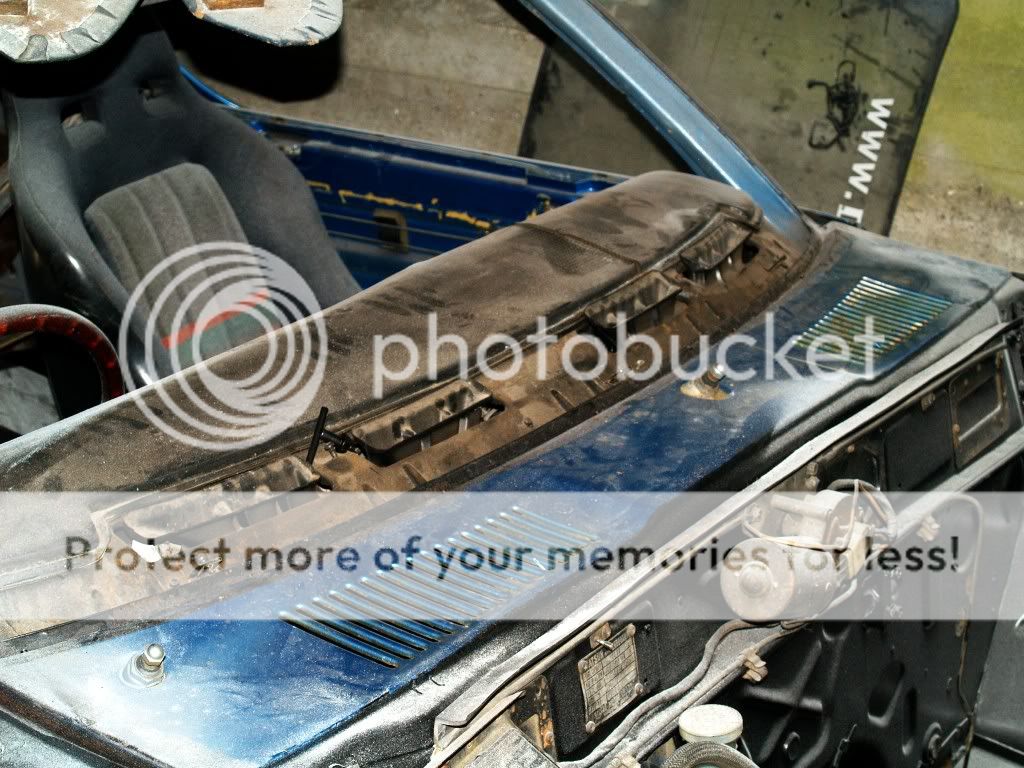
Saturday saw the fiddly scuttle panel attacked with wirebrush, destroyed a brush due to the nature of the beast;
That actually took a surprisingly long time to complete but the upside was that it was one more part out of the way and it had no real rust in it! Can you imagine?! That was pretty much me done for the Saturday, so on the Sunday it was time to pay attention to the last remaining affixed external panelling that needed stripped. The roof.
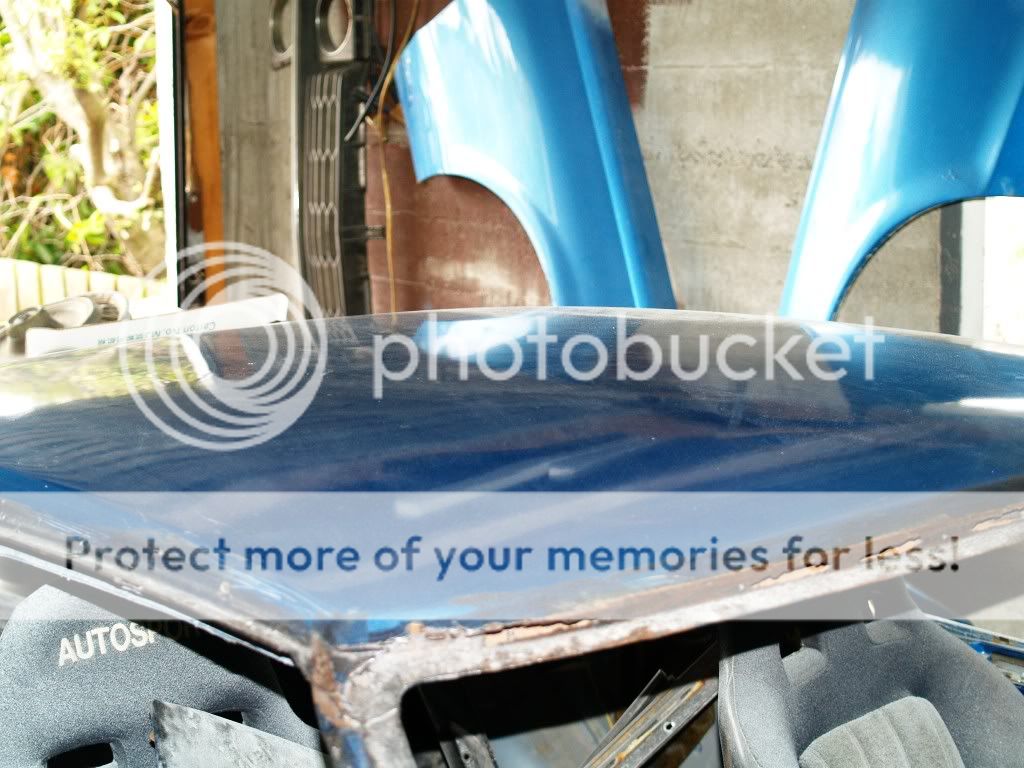
The roof was another piece I was dubious about, given that all other evidence of the previous vinyl roof had not boded well, it was likely the top surface also fell victim to the previous lack of care in reconstruction. Firstly I had to remove all the crap that I’d stacked onto the roof. It does make a good storage area…. Honest. Once that was done that left this shiny surface (of doom).
First task was to wirebrush the “side” section. On the passenger’s it was almost entirely forked. On this side, not all bad but still needs work, as can be seen here;
With that done, I was reluctant to use the wire brush to do the whole roof, It would literally take days. So I wandered off and bought some paint-stripper, crossing my fingers and hoping that the condition of the roof was not such that it was huge pits of bog where the stripper would prove less helpful.
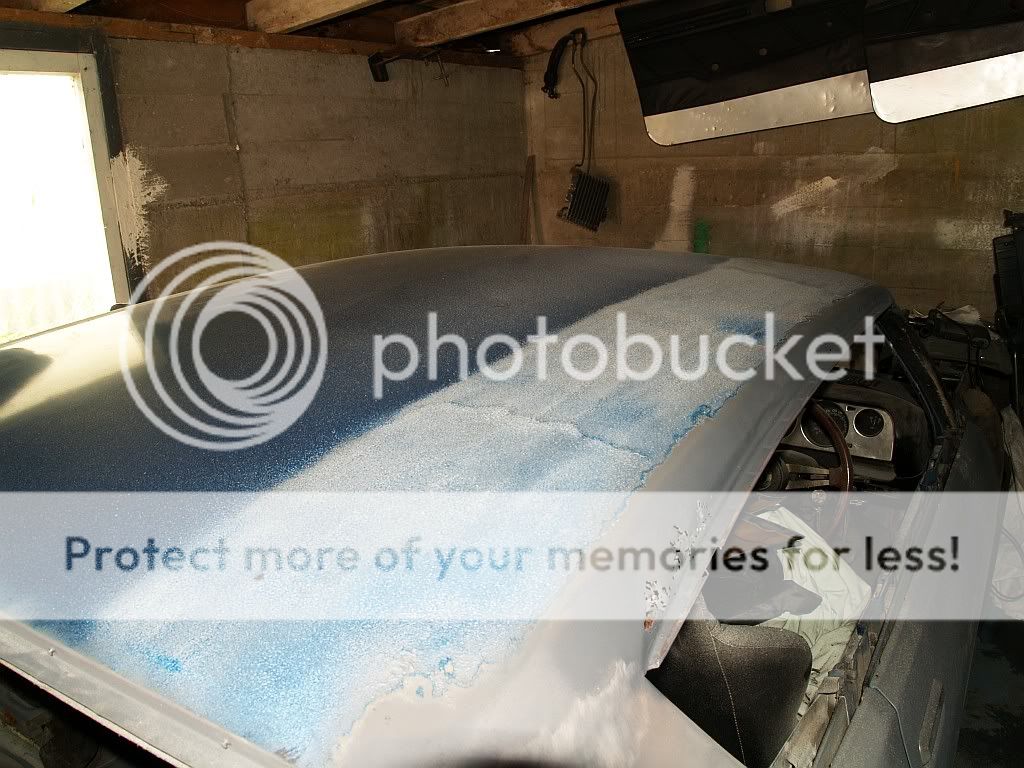
I tried an aerosol spray first, I knew it wouldn’t be enough but I wanted to see if it was worth the bother. I contemplated buying a proper tin of liquid stuff at the time but decided against it. That was a bad move, I had to go back and get it later. However, the aerosol did indicate that it would most definitely be easier to paint strip with such a product that it would be to wire brush the whole thing.
After the first few passes, everything seemed to be going fine;
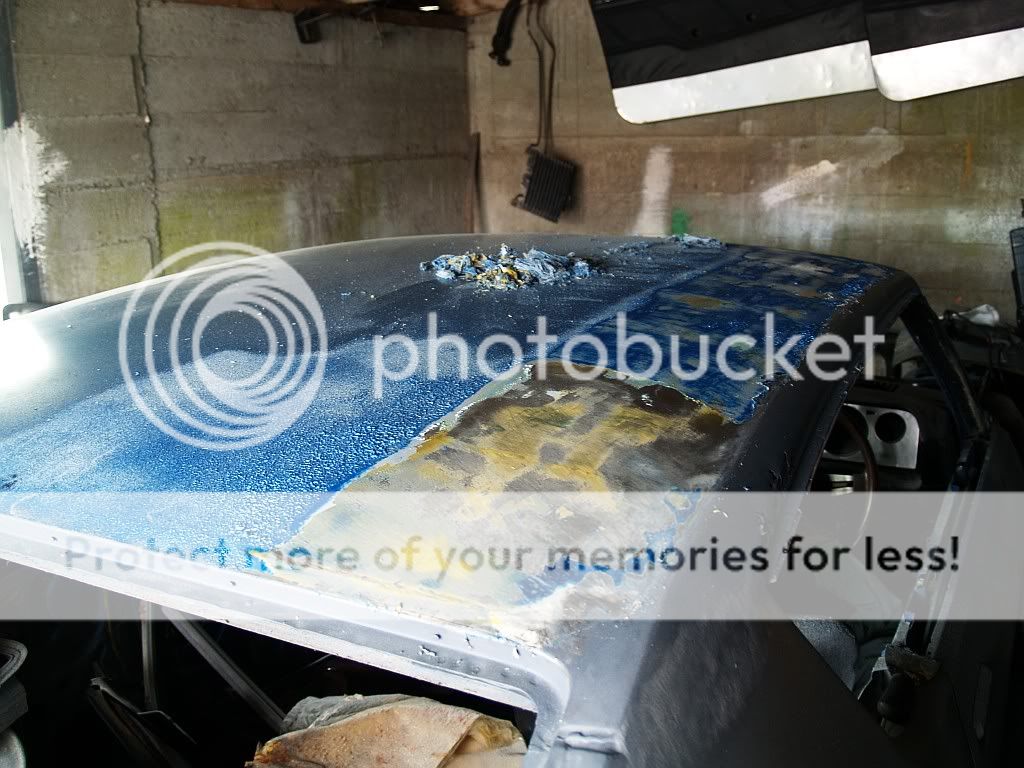
The paint however, was thick and underneath one layer of paint was… DUN DUN DUN
Not a surprise but, relatively thick in parts. Certainly not as thick as I’ve seen before on other cars (I recall a certain impounded HQ Holden that had a chunk taken out of the 12mm of bog on it’s roof) but enough to prove annoying as far as stripping the paint was concerned. However, I persevered and with the aid of plastic-wrap and proper liquid paint stripper, got stuck into the whole shebang;
This process took a fair amount of time, with the layer of bog in the mix, several applications in various places were needed, very little of it came off simply and so … MUCH, MUCH LATER
…and that was that! I took one last look at the garage, where space is at a premium;
Anyone have a larger garage with decent house that I could rent?
-Michael


this makes me happy seeing progress to this wonderfull car that you have, very very happy
I’m happy to be able to provide it! It’s been many a year coming as I’m sure you well know. Still, if it’s not before the end of this year then I’ll be quite unhappy.
Looking good man!!
So after all that you think the stripping process would be better than wire brushing off?
Seeing this makes me want to get out and do a little bit of my Datto.
Yes as no. Fine on flat level surfaces, not so easy on sides etc. The key part also is bog/filler. If you know there’s a lot of it, then the use of the stripper is a waste of time, wire brush all the way, it also preps the surface for etch primer, etc. Whereas the stripped surface will have to b sanded back at the least.
In regards to your Datto, get onto it! You have your own place to hack into it now, so hack into it!
I do tend to steer clear of paint stripper, mainly because if it gets into body seams it’s hard to remove and will then cause problem later. I’ve been stripping the paint from the roof of my ’81 Dodge van but elected to sand it off with 80 grit discs on a DA. It took me three days because of the amount of paint on it. It’s been repainted four times! For detail stuff like gutters and door shuts I use an air powered mini prep tool with 3″ surface conditioning discs by 3M. They are brilliant for stripping paint.
I’d heard that the heat from sanding/buffing/wire brushing with grinders or drills can distort panels. Any of that true?? Wouldn’t help with our really thin Japanese panels we’ve got!
Likely true though easily avoided by working in small sections at a time. My steel isn’t all that thin either, to be honest. Though it is thinner on the C110 than it is on the S21.