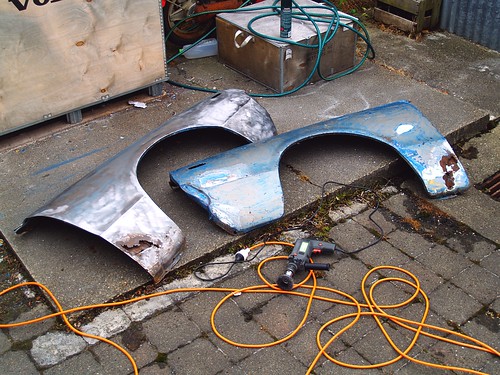
With both fenders at about the same stage before my drill packed a sad. In the weekend I decided to roll to Mitre 10 and replace the drill under warranty. We’re up to drill number 3 now. Last one only last two weeks and did a tenth of the work of the first one. Not cool. Anyway…
This was what I started with on the Saturday;
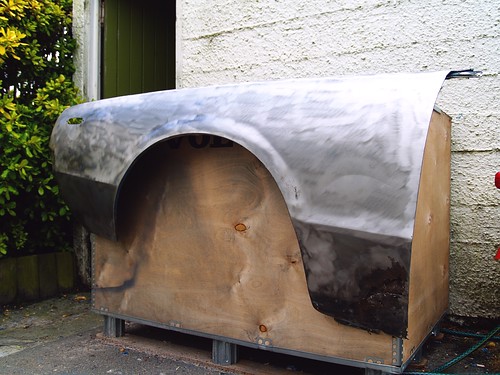
The RHS didn’t need all that much, just a quick flick with the wire-brush and then it was onto the LHS;
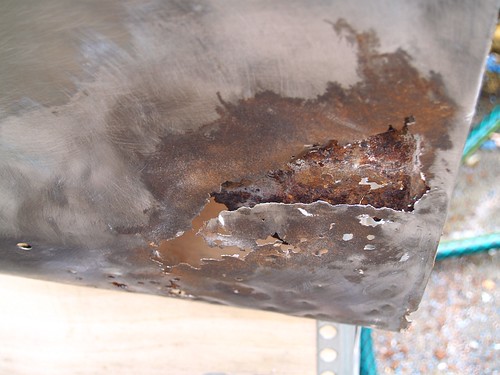
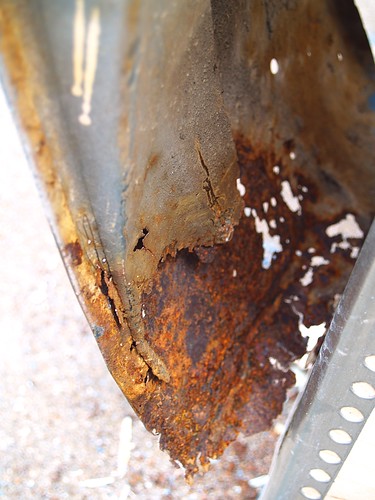
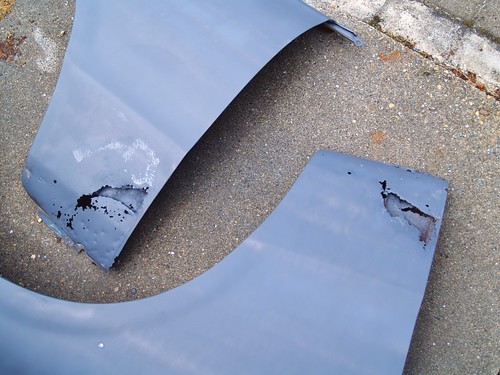
The bottom of the guard fairly toast. I think I might well take you up on that offer for that section from one of your spares, Ed. If that’s alright. You can see just how bad the rott is with these close-ups…
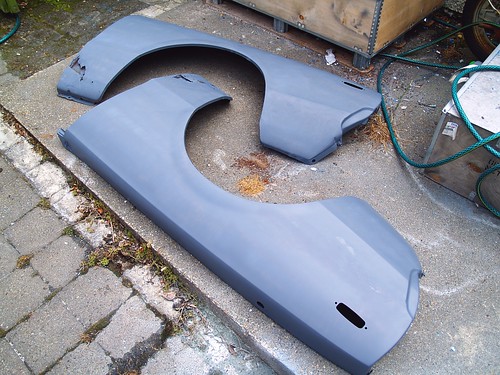
With the outsides cleaned up a quick flick of Etch Primer saw them both looking a bit more uniform and exposes their dents and weaknesses;
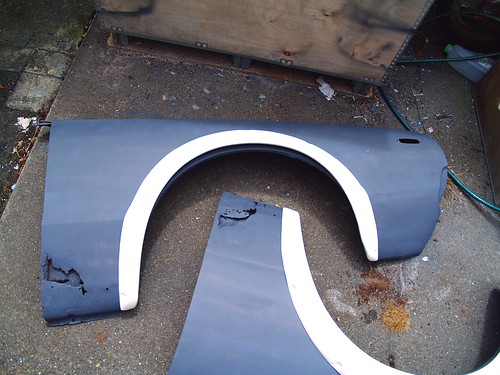
With that done and them dried from sitting in the face burning heat for several minutes, I trotted off to grab my KPGC110 replica flares to try on. Because, why the hell not?
Luckily, despite the holes in the guards, the front flares fit a lot better than the rears due to the fact that no-one has screwed with the body-line section.
Cutting steel soon. Should be fun.
-Michael



Let me know which bits you want me to chop out and I’ll get them on their way to you. For the bottom bit I reckon if I cut just above the swage line you would be able to trim it back and join it right on the swage which would make it easy to grind the weld out. Is it solid up front around the headlight? How about the top of the fender? Shame I’ve only got LH ones!