Some might look at that spoiler and think…
“That’s not too shabby, it’s close to the right one. Why don’t you just keep it?”
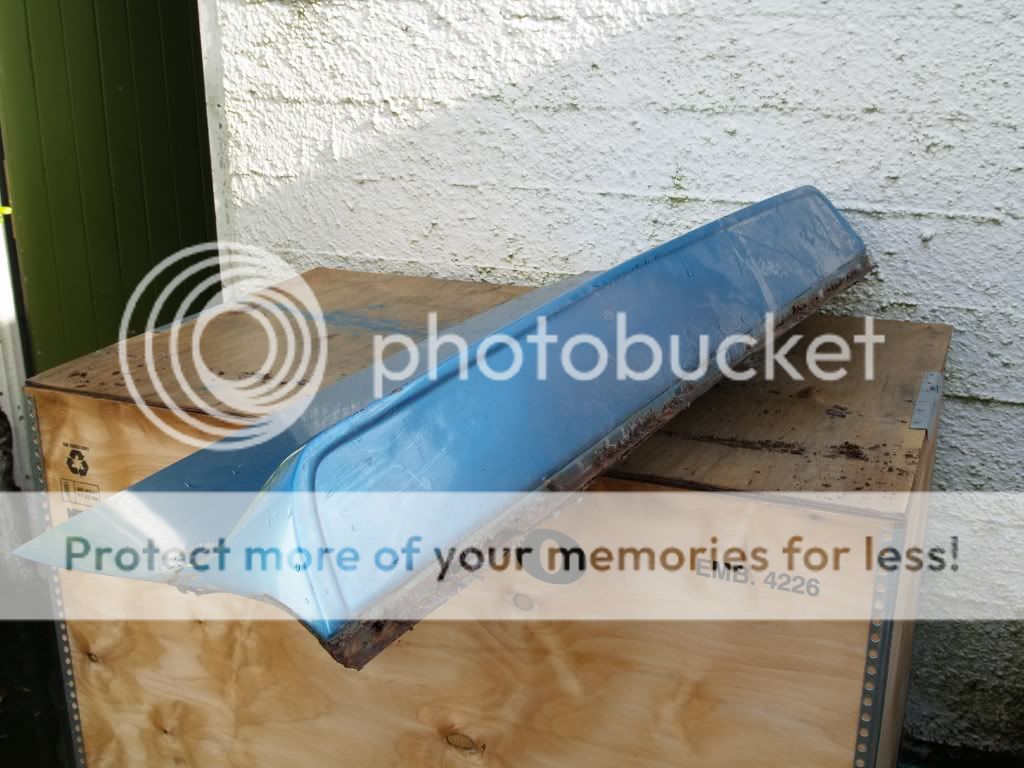
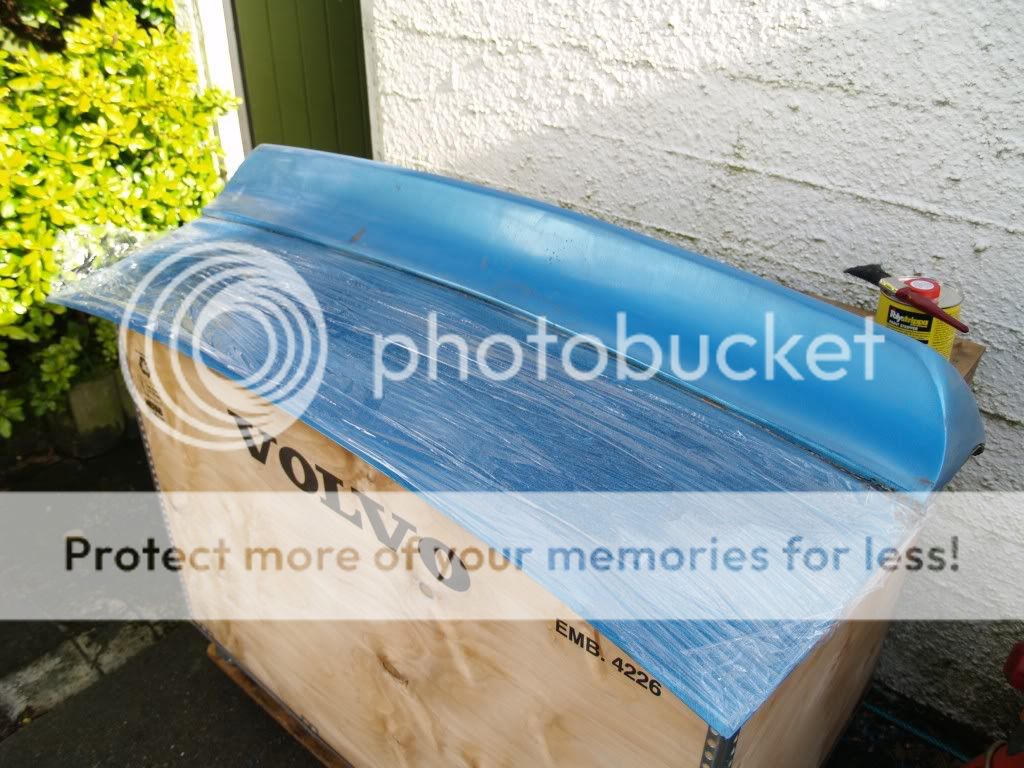
It’s been a sore spot with me since I’ve had the car. It’s a fibreglass replica spoiler for a Torana GTR-XU1. It doesn’t fit correctly, the attempt at fitment is abysmal and has generated a lot of rust and cracked paint. So today came time to remove it. A task not as easy as one might think.
If you were going to fit a spoiler like this to a car, how would you do it? I would wager that given the relative rarity of the C110 you wouldn’t be largely keen on making tremendous holes in the boot-lid. The previous owner of my car though (as you’ve likely seen with the rest of the stripping process) was not concerned with such things.
Example;
Now, were the dirty great hole he made to get access to the bolt thread not enough of a joke, they’re still not even close enough to make access to the wing-nuts easy, a measuring tape and hole-saw was obviously beyond him and the thread and wing-nut itself was covered in some manner of glue (more on that shortly).
You can see in this next photo, the amount of rot generated by the massive amount of incompetence.
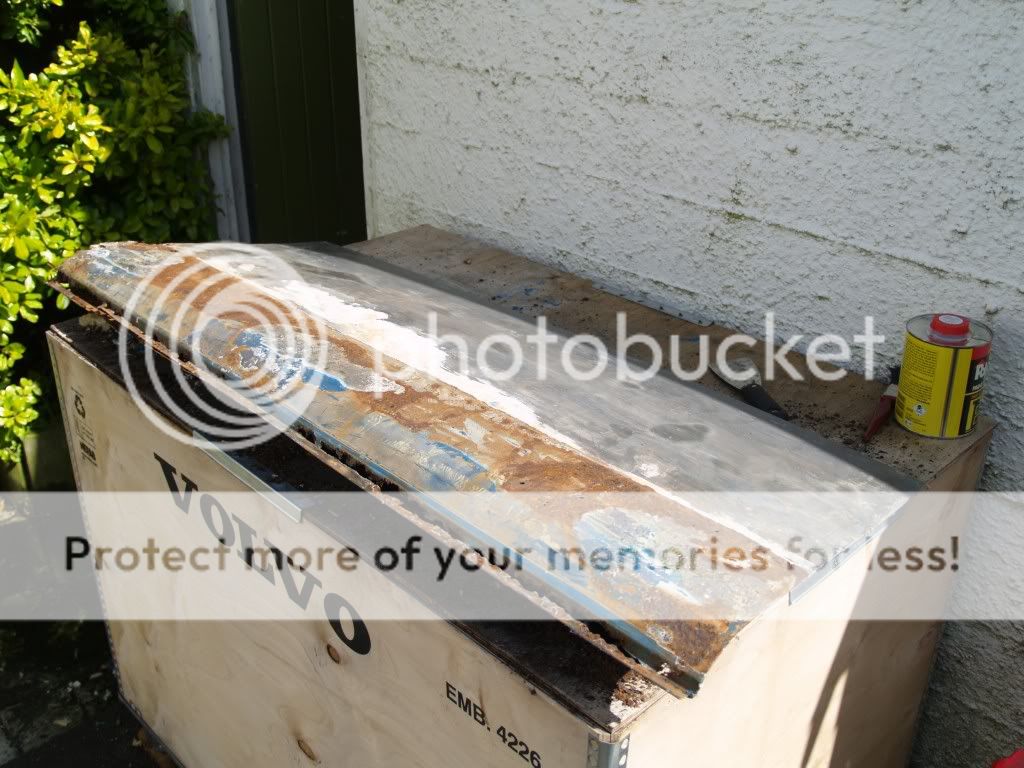
So before I attempted to remove the spoiler itself, I thought it would be a good idea to take the paint off the top section of the boot-lid. A job made relatively easy in that there wasn’t anywhere near as much paint on it as there had been on the R/F Fender.
Moments later;
What this now enabled me to do was to slide my scraper in the tiny gap between the spoiler and the steel of the boot-lid. I went all the way round a few times but for the majority of it, encountered some interesting sounding resistance. I finally got enough of it done that I could flex the wall of the spoiler a little but despite being all the way round with the scraper to it’s full length it just wasn’t budging. Although the wingnuts had been loosened some, perhaps it wasn’t enough to lift it.
I managed to use a long flat-head screwdriver to both keep the thread/bolt from spinning and undo the glued on wing-nut at the same time (on one side at least) though this too got to a point where it just wouldn’t move any more. Likely from me damaging the thread trying to hold the damn thing solid. However, with the gap I now had, surely the spoiler would lift? SURELY!
No.
This is about the only time I’ve been pleased that there was rust on the bootlid as because of the ferocity of said rust, the gap was large enough that I could weasel in my bolt-cutters and clip the fucken bolt off. Sorted! One side at least. After I had done this I again attacked the area under the spoiler with the scraper/putty knife. Several minutes of poking and prodding as well as constant pressure in the form of a wedge jammed under the end with the bolt cut. It detached. ALLE-MOTHERFUCKING-LUYAH!!
Thankfully because this was a simple fibreglass spoiler, the majority of the inside is hollow and with the spoiler now able to spin around it gave me enough roof to get my bolt cutters inside it and clip the second bolt off, Freeing the spoiler from it’s confine completely.
…but what’s that horrific residue? Well my friends. That would be an eclectic collection of Nu-Tech, Regular Filler, More Filler, Some sort of sets like rock glue (Liquid Nails perhaps?) aaaaaaaaaaand my favourite of the bunch!
That’s right, the weird crunching noise generated whilst slipping the scraper in-between the spoiler and the bootlid was that of the plasticy fucking foam crap popping and cracking. Fan-fucking-tastic.
Still, the spoiler was off. Hoo-rah! I removed the expanse of foam and filler and set it to one side to continue work on the lid itself;
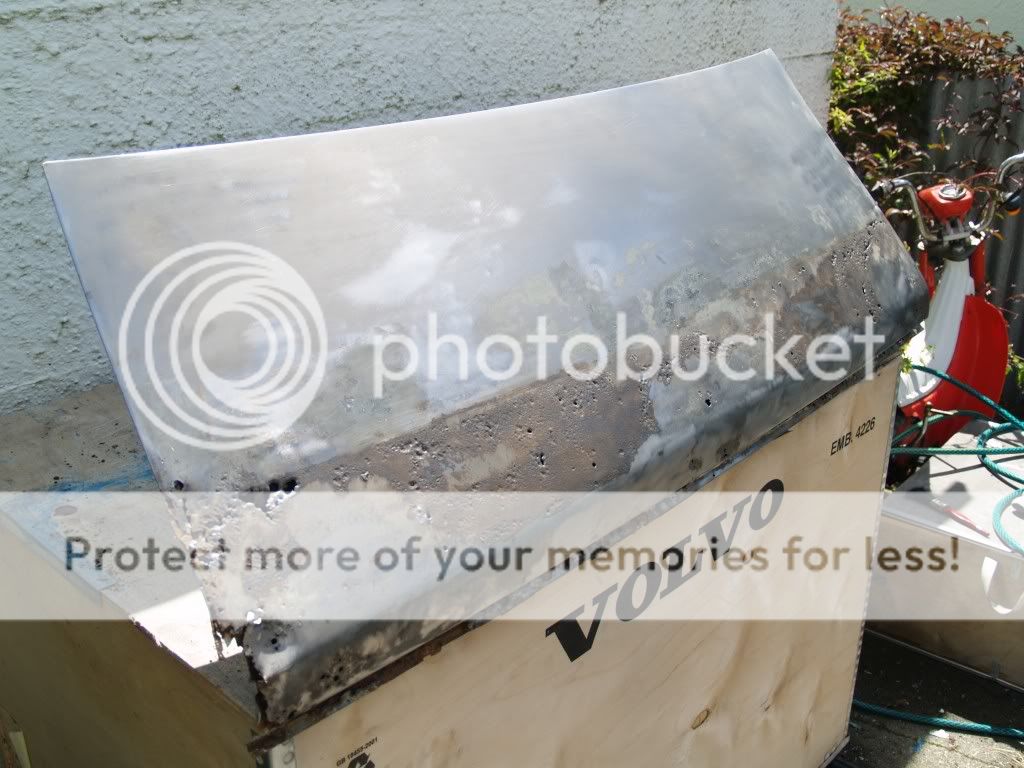
The resulting lack of steel caused by such fitment was far more prevalent on the left hand side of the lid;
So, out came the wire-brush;
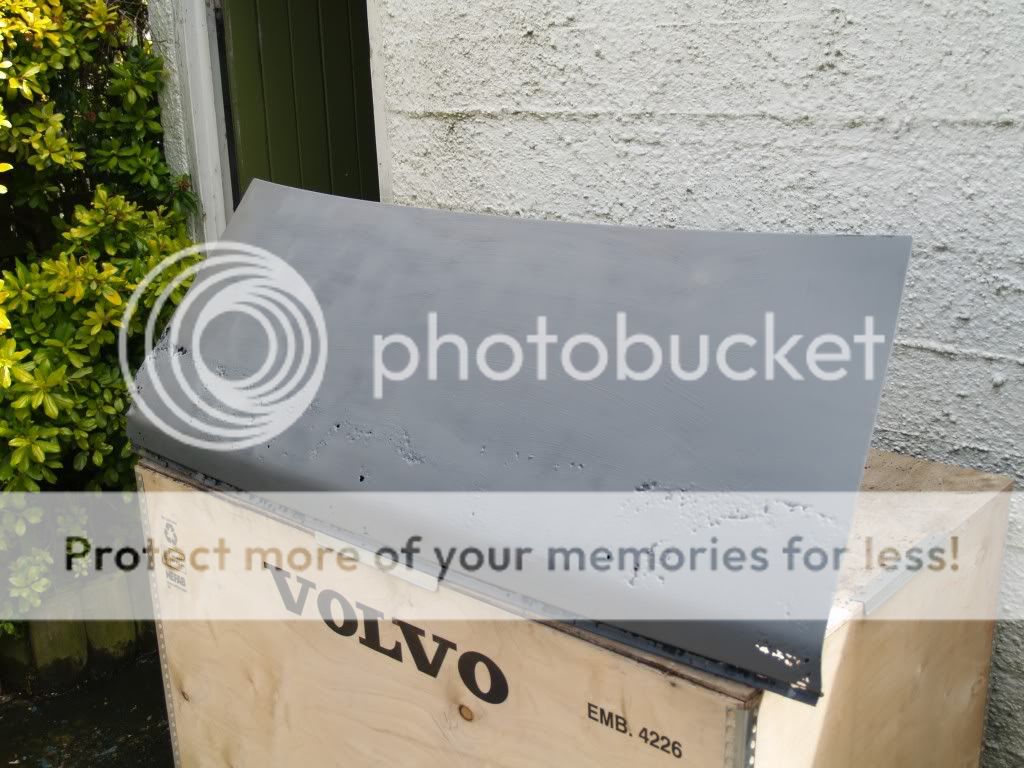
Followed by the primer;
So.. that’s the top half sorted.
I followed that up by going for a Spa before heading to work. At least the weather was nice.
If anyone has a C110 Hardtop bootlid in better condition that they’re willing to part with for as little a sum of money as possible, that would be great! Let me know.
-Michael







How much time do you have before work?!?
Hahah, on a Wednesday & Thursday, I generally have until half three in the PM. I work the evenings on those days.
That makes sense! I wouldn’t have time for anything like that before I went to work!
mean ovlov box!
My soul weeps
Oh man, that’s not pretty. Fixable but that’s gonna be a pretty time consuming bit of fabrication!